
Handlebar Consoles
Shop Handlebar Consoles products from multiple suppliers.
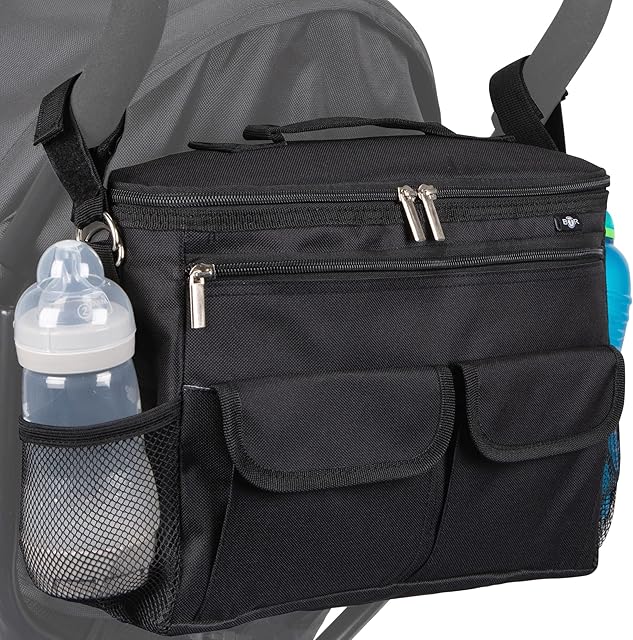


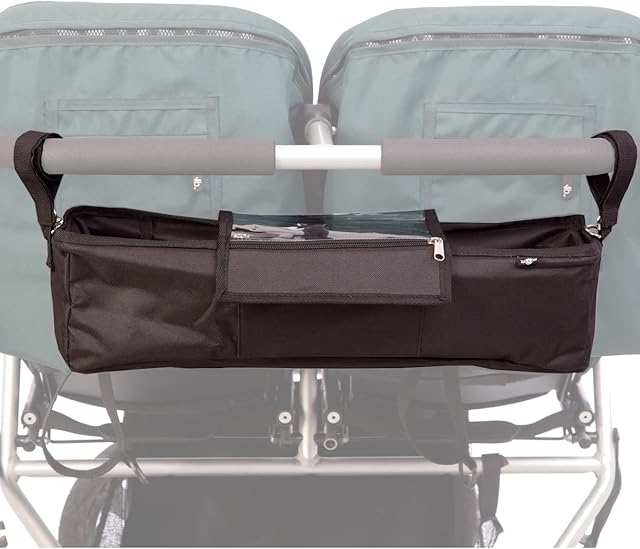
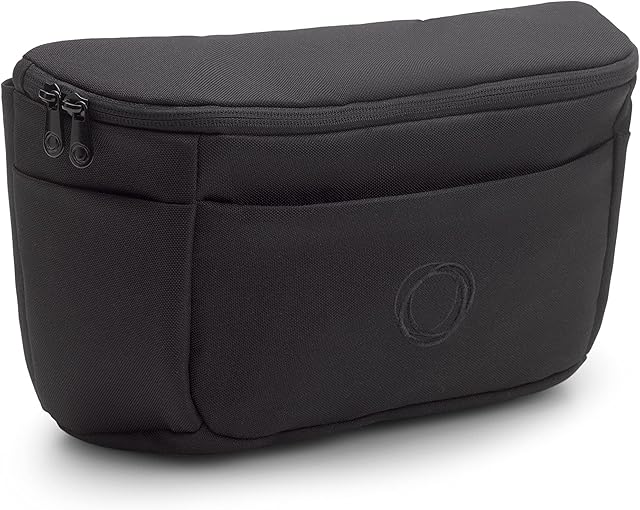
About Handlebar Consoles
Are you looking for the perfect handlebar console for your baby? If so, then look no further than our guide on buying and using one. In this blog post we'll cover everything from what makes a good handybar to how to choose between different types of consoles (e.g., single-hand or double). We'll also provide tips on installing the handlebars onto your bike and adjusting them for maximum comfort, as well as safety considerations when riding with young children in tow.
What is a Handybar? A handybar console is essentially an extension of your seat that provides additional support to hold the handlebars at different heights and angles while pedaling. It's designed specifically for use on bikes with drop bars, which are those without traditional flat-handlebars (e.g., road or mountain).
Types of Handybars There are two main types: single-hand and double-hand handybars. Single-hand consoles have one handlebar that can be adjusted independently, while the other is fixed in place. Double-hand handybars allow both hands to rest on separate bars for added stability when pedaling.
Choosing a Handybar When choosing between single and double handbars, consider factors such as your riding style (e.g., road or mountain), the type of bike you're using it on (drop bars vs. flat handlebars), and personal preference when adjusting the height and angle of each bar independently.
Installing a Handybar To install your handybar, follow these steps: 1) Remove any existing hardware from the bike's frame (e.g., bolts or screws). 2) Attach the handlebars to the bars using either screw-on clamps or a quick release system if you have one available. 3) Adjust each bar independently by loosening and tightening the clamp, as needed.
4) Once both handles are securely in place, tighten them down with your bike's bolts (or use a wrench). 5) Test ride to ensure everything is working properly before using on longer rides!
More from Handlebar Consoles
More listings from Handlebar Consoles by experienced suppliers.


Browse other categories
Explore more from Parts & Accessories
- Organisers & Holders
- Transport Bags
- Stroller Fans
- Parasols & Sun Covers
- Handmuffs
- Footmuffs
- Stroller Hooks
- Seat Liners
- Rain & Wind Covers
- Parent Cup Holders
- Kiddy Boards
- Harnesses & Straps
- Mosquito Nets
- Blankets & Sheets
- Bunting Bags
- Storage & Organisers
- Canopies
- Head Rests
- Rear Wheels
- Stroller Connectors
- Cupholders
- Bumper Bars
- Front Wheels & Assemblies
- Reducers
- Strap Covers
- Carrycots
- Reins